Home
Castle Donington
Drakelow
Hams Hall
Hams Hall A
Hams Hall B
Hams Hall C
Hams Hall Site
Staythorpe
Willington
Links
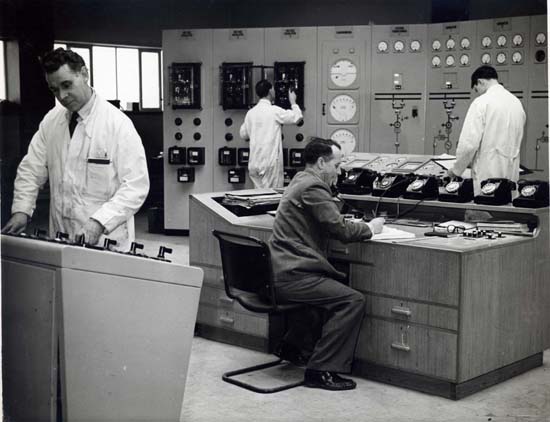
Control Room pictures
Photo supplied by Jim Aldridge
Control Room
Outside
Turbine Hall
Rotor Removal
Vesting Day
Closure