Home
Castle Donington
Drakelow
Drakelow A
Drakelow B
Drakelow C
Drakelow Site
Nottingham
Ocker Hill
Spondon
Staythorpe
Willington
Links
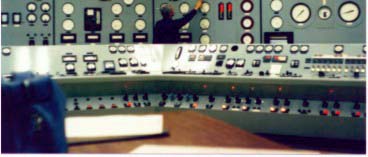
Control Room
Drakelow B - Unit 6
Photo supplied by Richard Bottrell
Construction
Closure
Control Room
People
Turbines
Outside
Demolition