Home
Castle Donington
Drakelow
Hams Hall
Nottingham
Ocker Hill
Spondon
Staythorpe
Willington
Links
Control Room Pictures
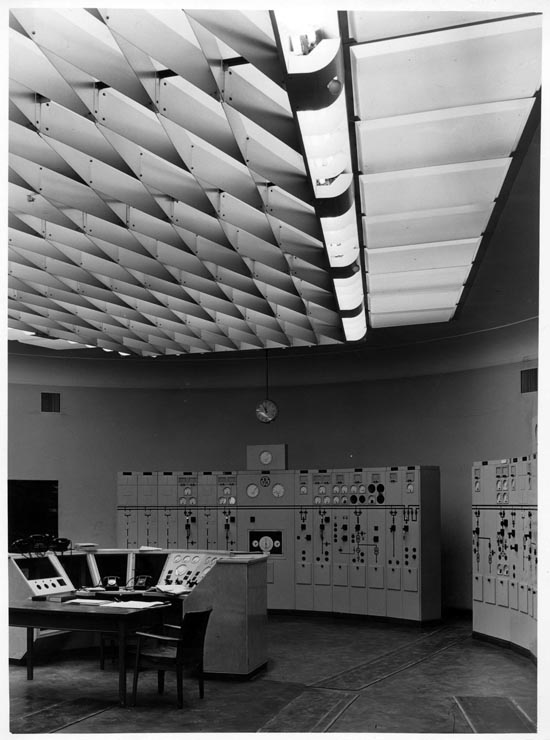
Main control room
Photo supplied by Norris Pickford
Construction
Control
Demolition
People
Boilers
Turbines
Outside
Workshop
Mobile Plant